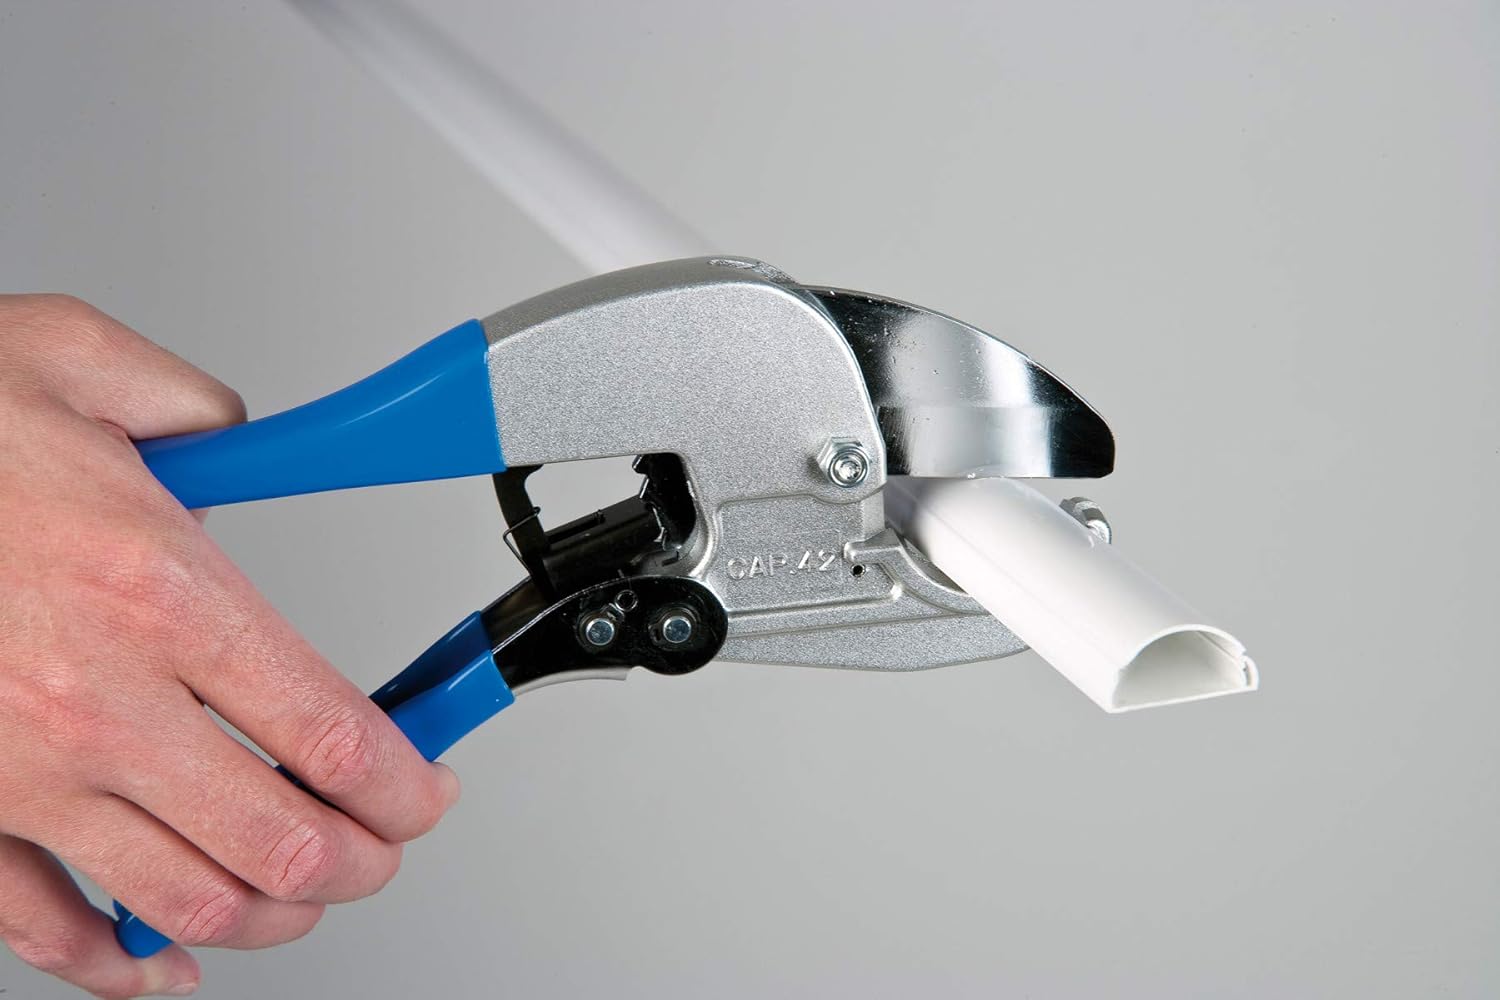
D-Line Cable Trunking Cutting Tool RC30MM - for use with 30 x 15mm Trunking (5 Pc)
FREE Shipping
D-Line Cable Trunking Cutting Tool RC30MM - for use with 30 x 15mm Trunking (5 Pc)
- Brand: Unbranded

Description
Conduit or trunking is normally used for cable management systems where current needs to be carried between multiple devices and terminals. It’s especially useful in any potentially hazardous areas, whether the perceived hazard is environmental or physical. Ambient or weather-related conditions (e.g. moisture, extreme temperatures, etc) may be good reasons to choose conduit, trunking, and protective cable sleeving. Choose skirting trunking with accessible covers or hinged designs for easy cable modifications or maintenance. Remember to leave space (between D-Line lengths) to accommodate accessory required. For smooth-fit accessories, including connectors for all sizes, use the accessory as the template. Pencil mark the surface and the length, to indicate precisely where the trunking needs to be reach. After installing the lengths, and inserting the cables, the smooth-fit accessory will retro-fit into the space(s) you left. A: Yes, skirting trunking can be painted to blend seamlessly with the wall colour. Use paint suitable for plastic materials. A: Skirting trunking is designed for indoor use. For outdoor cable management, consider using weather-resistant alternatives.
First, work out a 90 degree right angle at the point of the Trunking you want to cut. Then find the middle point of that and mark it on your Trunking. Draw a triangle between the top point of the angle and the 45 degree points either side. Metal Trunking is used to house electrical cables. It’s often hidden behind plaster within walls or underneath flooring, and helps keep everything in the position you placed it. Step 1: Planning Measure and Mark Begin by measuring and marking the areas where you intend to install the mini trunking. Make sure to consider the path of the cables and any obstacles in the way. Cut the Trunking Using a saw, cut the trunking to the required lengths. It's crucial to have precise cuts to ensure a neat installation. Step 2: Installation Attach Wall Plugs Secure the wall plugs at the marked positions. These will provide a stable base for attaching the trunking.Inspect the installation to ensure everything is secure and level. Make any necessary adjustments. Once satisfied, wipe down the trunking to remove any dust or debris. Thanks for the video link. That was most helpful. I've had a go at making a diagram. I made a strip like you and then folded it. When folded the top will run from D to E and the bottom G to C to F to H. The dotted lines show where the strip is folded. Of course, the strip doesn't look like the diagram (as it is straight) but, hopefully, what I've done is how you want to construct your trunking. You can also choose to go for a larger cable to future proof your electrical connections. For example, adding a heater in the future can massively increase power requirements so it’s good to be prepared. Step 6: How to join armoured cable underground and above ground
What I would do is use a spreadsheet program like Excel by Microsoft to make up the right formulas. Then you can easily plug in new values when you want. I'll show mine below. Skirting trunking is not just about functionality; it's also about maintaining the visual appeal of a space. Choose a design that complements the overall aesthetics of the environment while effectively concealing cables.
Conclusion
Once you know this, you can work out how large you’ll need your Trunking to be to allow ample space for the cabling. Mastering the installation of slotted finger trunking is an essential skill for cable and containment installers. Following this step-by-step guide will equip you with the knowledge and expertise needed to execute the installation process effectively. Remember to prioritize safety and precision throughout the installation for the best results. We’re often asked, ‘what’s the difference between cable conduit and cable trunking?’. In practice, these two methods of electrical power cable protection and concealment are very similar. However, they each have their own advantages and disadvantages in particular applications. Yes, you can paint slotted finger trunking to match the wall colour. Make sure to use paint suitable for plastic materials.
After this simple process has been completed, your Trunking will be ready to use. It is important to be mindful of sharp edges after cutting Metal Trunking. Before you begin the installation process, it's essential to ensure you have all the required tools and materials. Here's a list to help you get started:When choosing skirting trunking, several factors come into play to ensure a seamless fit with your installation requirements. Rigid cable trunking systems are more inherently modular than most conduit installations. Trunking sections can be either rectangular, square, or flattened for a low profile. They’re designed to slot together, often with angled joint pieces between each length. Yes, wearing safety equipment such as gloves and goggles is highly recommended. It protects you from any potential hazards during the installation process.
- Fruugo ID: 258392218-563234582
- EAN: 764486781913
-
Sold by: Fruugo